This is part 2 of a 2 part series. I am writing this with the assumption that you’ve already part 1 so some steps that are explained there won’t be here.
OK, so first my little disclaimer. I’m a bit embarrassed that my photos suck since this will mostly be read by other photographers. But this was done in a hurry after a long day of work, after the last diaper was changed, after the kids were in bed, and I was exhausted. So this is what you get. Also, I know the haters are going to say “you can spend 3-grand on a camera, but not $20 on lighting accessories!?” Well, my answer, not that I need to answer it at all, is that a) I enjoy making things like this, and b) if I could have made my own D700 from a few items at the craft store for a tiny fraction of the cost of Nikon’s version I would have done that too!!
Other stuff: The Jagmin DIY Cinch Strap, The Jagmin DIY Bounce Card, The Jagmin DIY Gel Holder for Speedlights,
Cut your business card sleeve off the sheet and cut off the end so that both will be open.

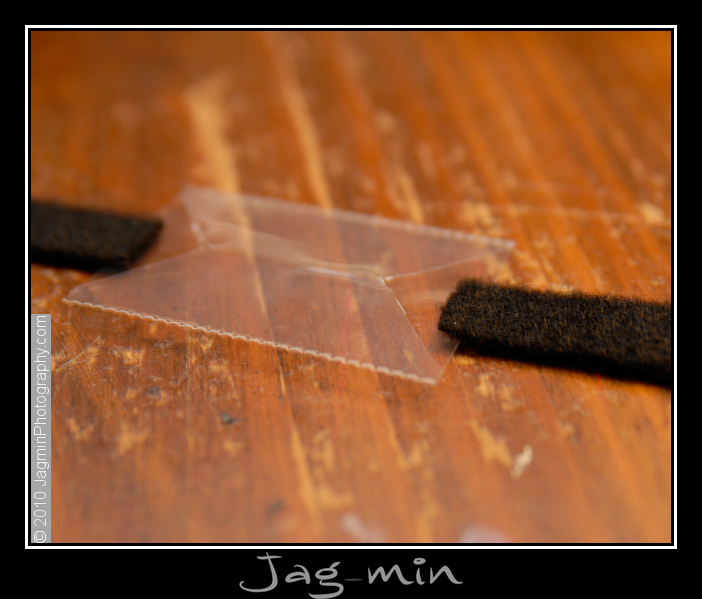
Then I gathered the middle of one side to cut a notch in it.

Here’s the notch. It just allows the velcro to be attached easily, and the gels to be inserted and removed easily.

Again, attach “loop” on the layer of the sleeve that is left after the notching and “hook” opposite of it. I attached mine so that when the notched layer of the sleeve is face up so is the “loop” and when the notched layer is face down the “hook” is showing. In the photo below, the notched layer is face down.

Attach velcro to both ends.
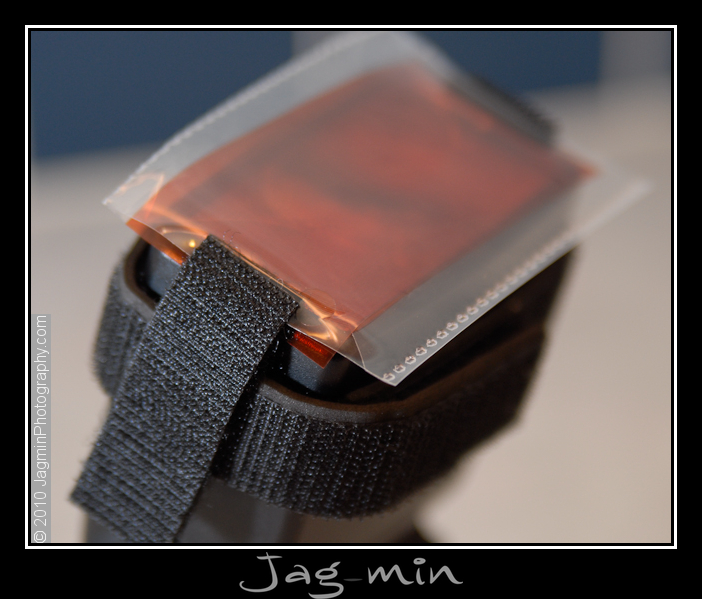
Insert your gel, and attach to the sides of your flash, and use your built in card if you wish.

Again, I don’t care for this one as well as the one I made in part 1 because it’s so bulky, and that was my main problem with a lot of other DIY gel holders.